Nintendo Switch Fan Running at 100% Repair
 While I’ve only heard of this issue before, I’ve never seen this issue in person until very recently.
My friend Glenn, who owns and operates Potter Funeral Home in Willimantic CT messaged me in regards to one of his Nintendo Switch’s running at full fan speed.
The Switch wasn’t getting warm, just ran at 100% all of the time. Weird. It was delivered the next day, and to my surprise, yep, 100% fan speed right after the Switch logo pops on the screen.
Other than the fan, the switch operated normally. Dock mode worked, joycons rails functional, WIFI working, normal temperatures, charging and power circuit checked out.
Nintendo Switch 100% Fan Speed Symptoms And Things To Check
 The main symptoms for this issue are: Switch turns on, and immediately on boot after the Switch logo appears, the fan hits 100% and doesn’t shut off, unless you put it into sleep mode or turn it off.
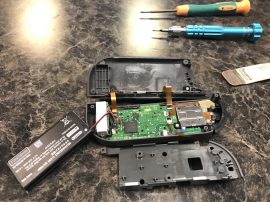
If you don’t work on consoles or want to open your switch, just stop and either start researching how to take them apart without destroying it, or send it in for repair. You can further damage the unit and make things more complicated for yourself.
Things to try and look for: Disconnect all unneeded parts to rule them out such as joycons, joycon rails cables , wifi cables, speakers, game cart reader, replace the fan with a known working one. And keep testing to rule out any other components.
Check thermal paste on the Nvidia Tegra CPU/GPU, make sure there is at least some there to ensure a proper thermal gasket
All of the above obvious things were tried yet nothing would seem to change the fan blaring at full speed.
If your switch is hacked: Check the temperatures, see if they are going crazy, you may have a faulty temp sensor. In this particular case I just guessed. Temp sensor was more than likely fine.
Testing & Resolution
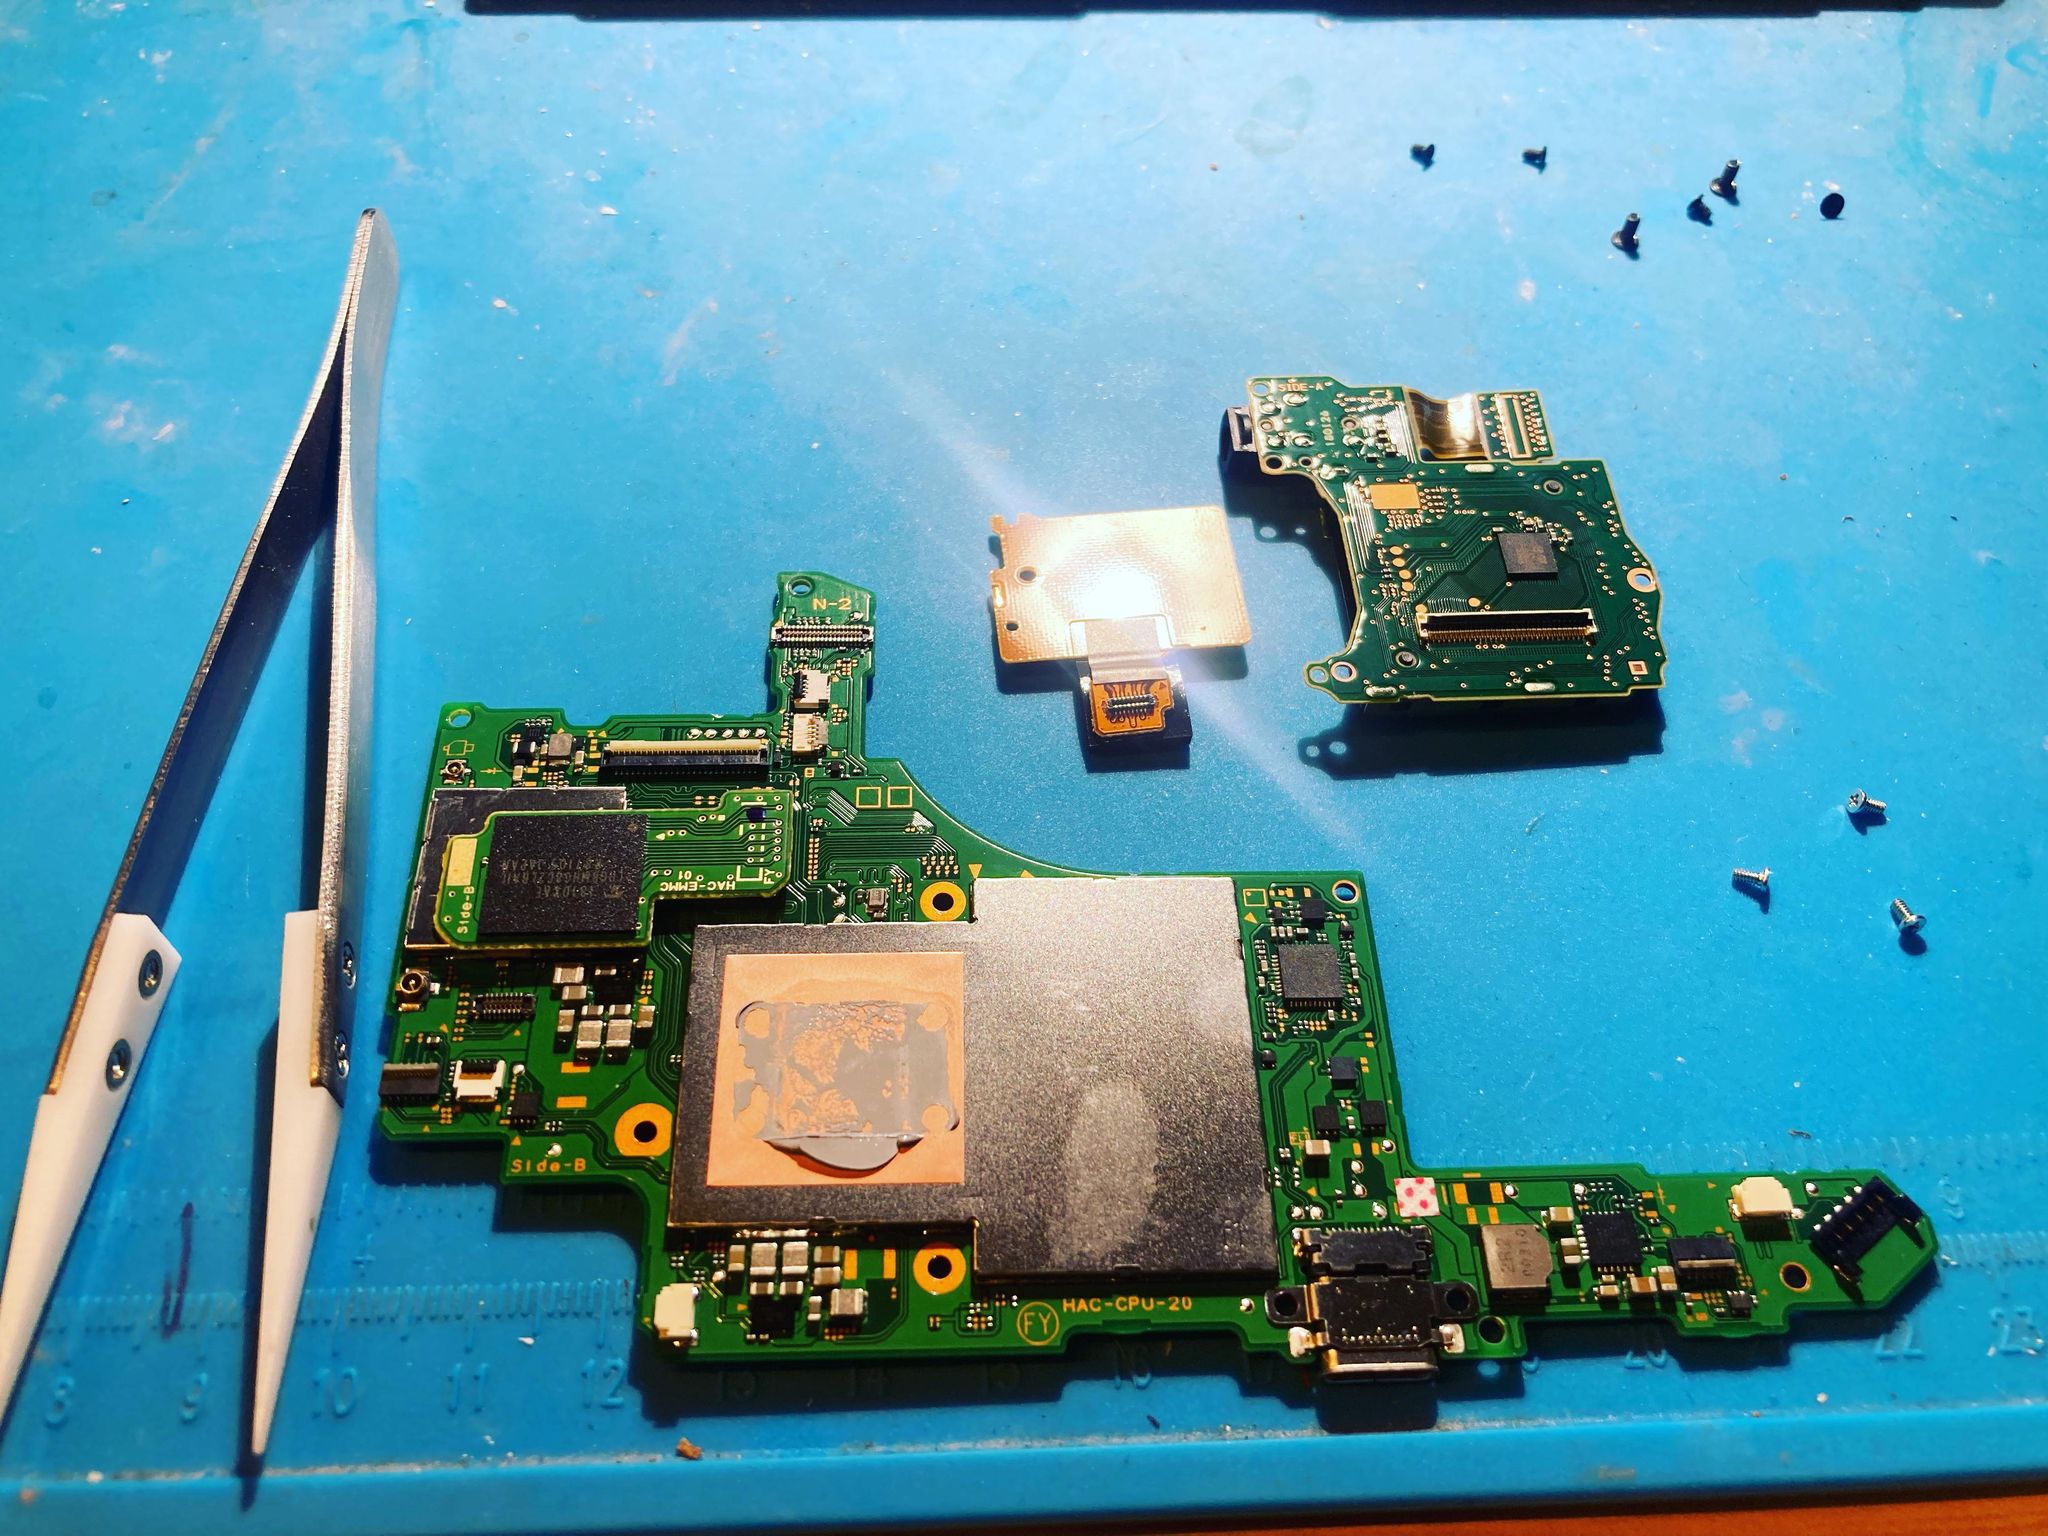
 First things to check board side after the obvious were ruled out
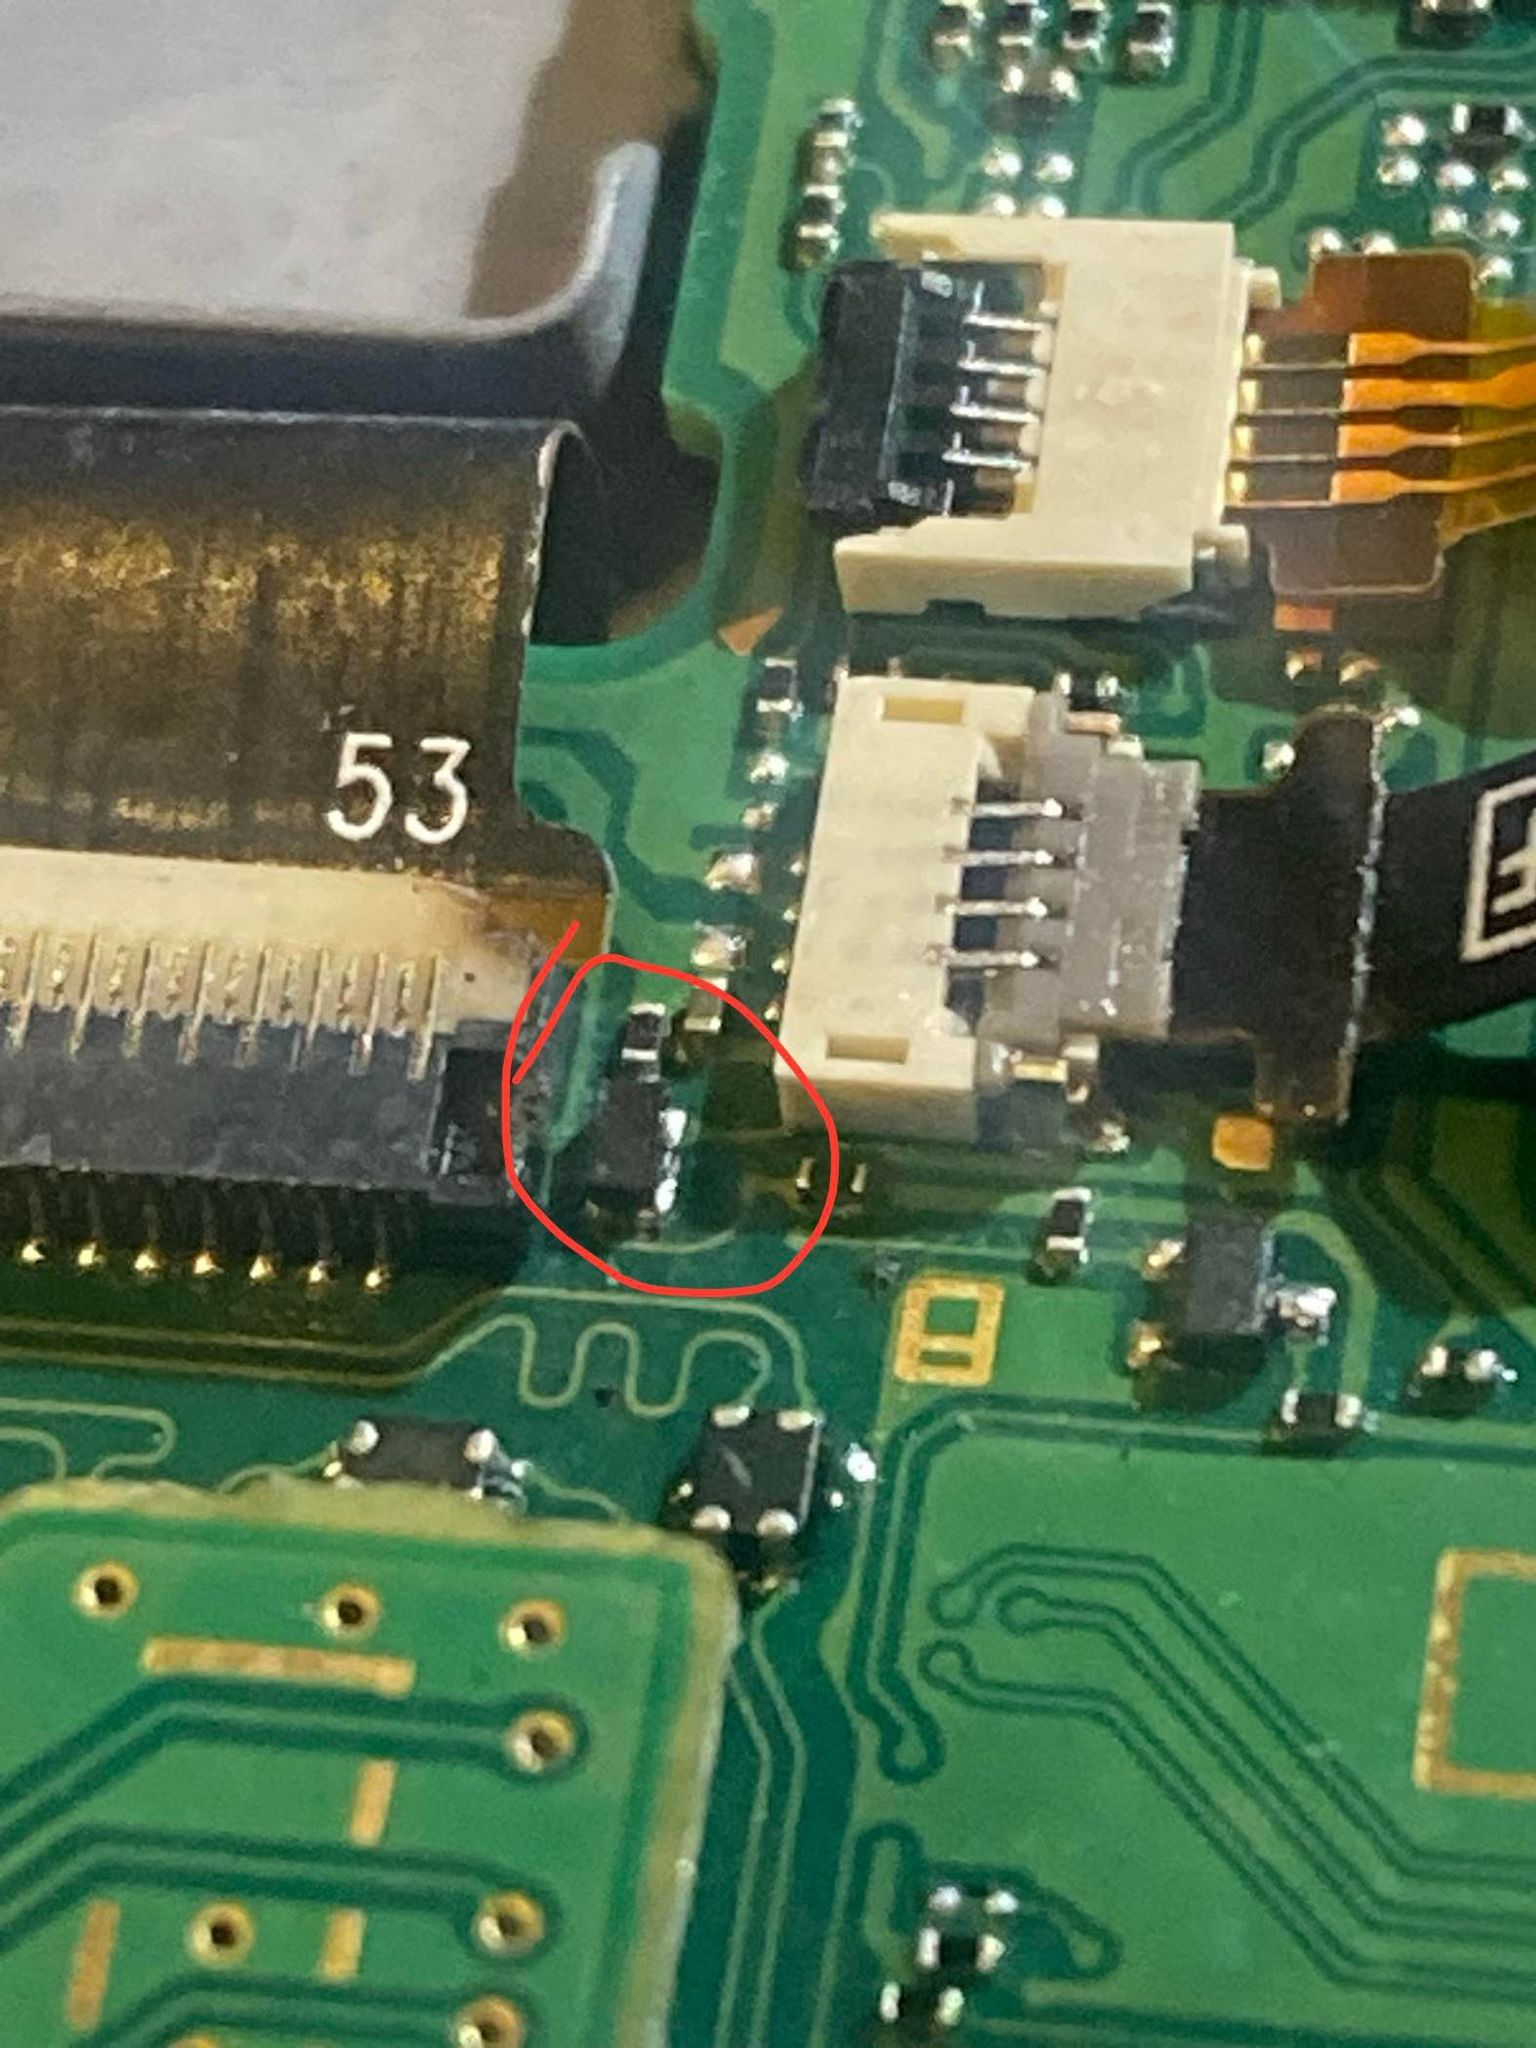
There is a fan resistor that distributes voltage to pin 1 power of the fan (see circled part photo to the left)
It: a) didn’t look mounted right (almost shifted off the pads a bit) and b) Ohms all over the place while power was off from 50-180. On a parts donor switch board this component would show 50 ohms.
Other things to check if this doesn’t work
Lastly, temp sensor on the back of the switch board and M9 power chip were the next go to spots on this switch, but the resistor component seemed to be the obvious first.
Replacing it ultimately resolved the fan issue here.
Replacing the Part
 This part is extremely tough to get at. Hot air for too long will melt the nearby LVDS/LCD connector + Fan Connector which are both plastic.
I have a laser removal tool specifically designed to get into crevices like this.
If you’re going to attempt this on your own. Be careful. LCD connector replacements are not fun.
Removal of the part was a success and installation was just a quick hit with hot air until it melts back into place. There are 3 connection points for this part.
Once it was installed correctly, Ohms checked out to 50, and no more crazy 180 spikes. It booted up and the fan issue was resolved.
To test, put your switch on the dock, or play a game with the back off to verify the fan is spinning under normal operation.
You’ll also notice the fan isn’t spinning at 100% anymore. Hopefully, this post will help someone in the future. If it did, leave a comment or email us.
Need Help?
If you need service on your switch, contact us for pricing for this repair.